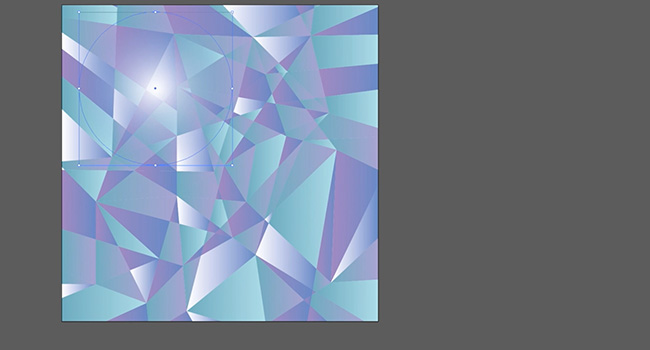
Learn how to create this cool and sharp geometric pattern using Adobe Illustrator. It’s easier than you think!
It’s quick and basic to do even if you are a beginner in Adobe Illustrator.
Geometric Flat Design Video Tutorial:
Let’s Go!
Launch Adobe Illustrator and open a document sized 1200px x 1200px. The first thing we are going to do is select the colours that we want to use for this pattern. Using the colour picker choose the colours you want, click on OK and then drag the colour into the Swatches Pallet on the right side of the screen.
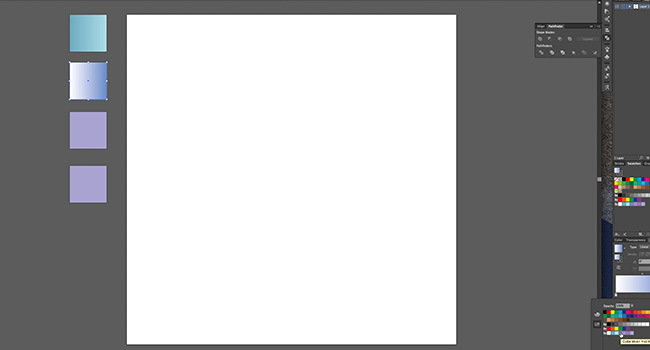
After picking your colours (choose at least 6) draw 3 squares outside of the document. We are going to use these squares as big swatches to easily change the colours of our pattern. Select each square, change the fill setting to Gradient and in the Gradient pallet select the colours that you chose earlier. Make each square a different colour gradient.
Now using the Rectangle Tool make a square so it covers your whole document. Change the colour to No Fill and keep the stroke colour black on its lowest setting.
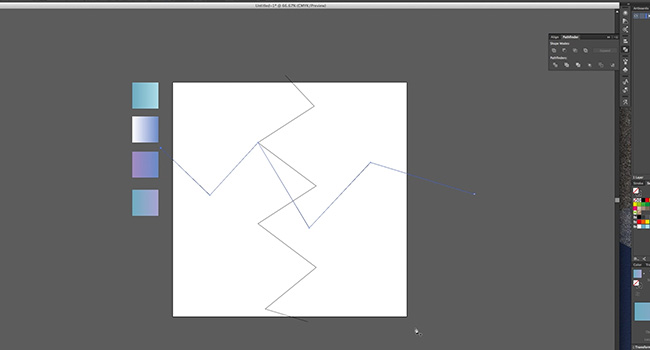
Now select the Pen Tool. You need to make straight zig zag lines from one side of the document to the other, you also need to start and finish outside of the square. After drawing each line you need to switch back to the Selection Tool then back to the Pen Tool, this’ll end the path so a shape doesn’t follow you around the document.
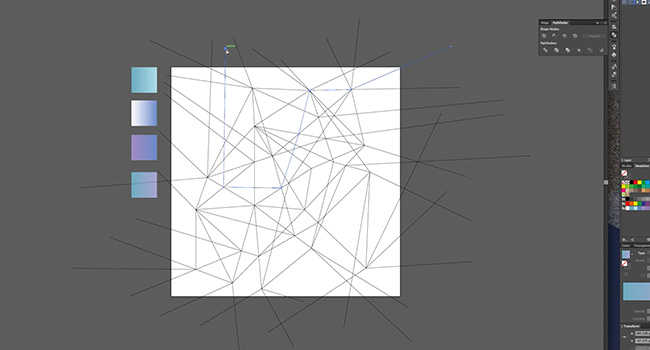
As you make new lines, each zig zag should insect other Anchor Points on the other lines, this will create the shapes we need.
When you’ve filled the document with any many lines as possible (without the lines being too close together) you can start colouring the pattern.
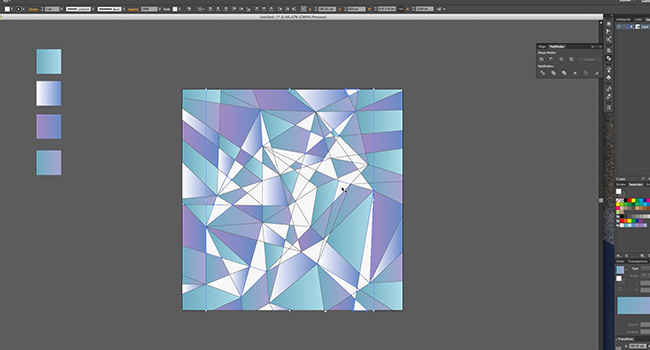
With the Selection Tool, highlight the whole document. Using the Pathfinder palette, click Divide. This will make all of the shapes you need. Highlight the entire document again, right click it and select Ungroup. This will separate all of the shapes. Highlight once more and change the fill colour to white.
Delete the shapes on the outside of the document (apart from your swatch squares). Whilst holding SHIFT select shapes at random from the document. With some selected use the Pipette tool to choose the colours from the swatch boxes. Keep performing this action until all of the shapes are filled, then highlight them all and turn off the stroke colour.
For added shine, draw a circle on the document. Change it’s fill to gradient and in the Gradient palette lower the opacity of the black side to 0%. Change the gradient type to Radial, then choose a place to put the shine.
You’re all done! Try different colour combinations for a variety of different moods. Alternatively use solid muted colours for a cool ’70s vintage twist.
Music used in the above video: Dogs & Cats from the album RawDub by Jahzzar
Duration changes were made to the original score
Find Jahzzar’s work at http://betterwithmusic.com
(Used under Creative Commons Licence Arribution-ShareAlike 3.0)
Subscribe To Our YouTube Channel
This is part of our Adobe Creative Tutorial Series, please subscribe to Solopress’ YouTube channel so you don’t miss out.


