Learn how to design a Roller Banner in Adobe Photoshop with our expert, easy-to-follow video tutorial…
This video is part of our Adobe Creative series of design tutorials. Please make sure to subscribe to the Solopress YouTube channel so you don’t miss out on future guides!
A Roller Banner, Display or Stand can also be known in the printing and graphic design industry as a PopUp, Pop Up, Pop-Up, PullUp, Pull Up, Pull-Up, Quick Roll, RollUp, Roll Up, Roll-Up or Stand Up.
How To Design A Roller Banner
Head to the Solopress website to download the free Photoshop Roller Banner template guide as a base for your Roller Banner.
Open the Photoshop file, we have created a guide layer that will help you design your Roller Banner – this includes the bleed area, trim and safe area.
Bleed Area – Anything here will be trimmed off, but remember to extend any colouring or images into this bleed area to avoid white lines appearing during the print finishing stages.
Trim – Your job will be cut on the solid black line, any images or text placed in this area may be trimmed off incorrectly.
Safe Area – Keep all your information insides the white area. Remember to use high-resolution images (300dpi) for the best results.
Create a new guide by clicking and dragging on the vertical and horizontal Ruler (if your Ruler does not appear in Photoshop press Command + R).
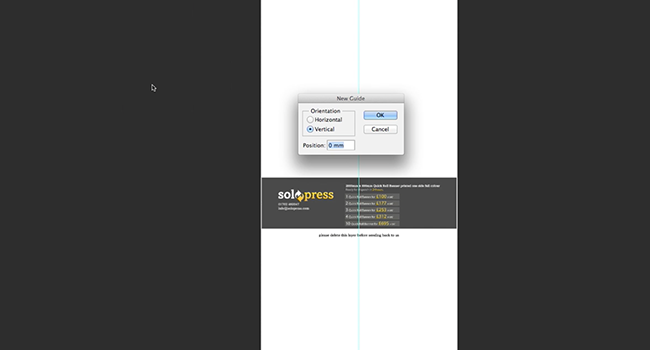
Create 4 new guides on the safe area line. In this video I have created 2 lines that run through the centre vertically and horizontally, you can set these to the exact measurement by clicking View – New Guide then entering 400mm for vertical and 100mm for horizontal.
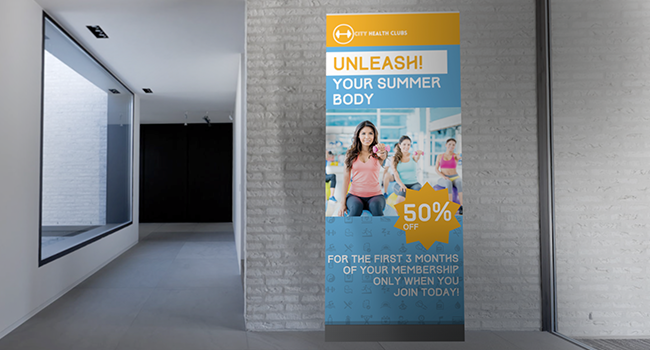
In this video, I’m going to create a promotional Roller Banner for a Gym.
Let’s get started!
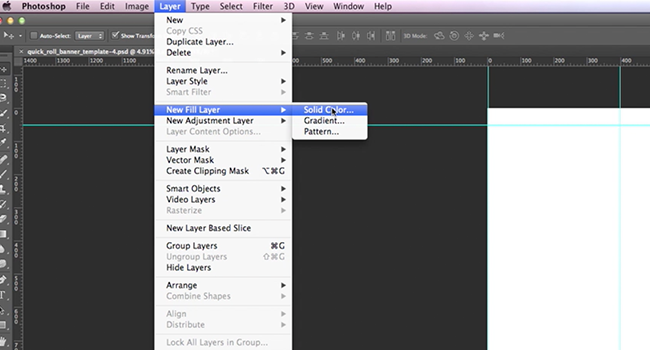
Now you’ve got your guides in place, we can now get started on the background. To make a solid colour background click Layers-New Fill Layer-Solid Colour. In this demonstration I’m using a fill colour instead of an image or pattern because I am going to add shapes to give it depth.
I then add a rectangle at the top of the banner (by using the Shapes Tool in the Tool Bar) with a different colour to contrast, this is where my company logo will sit.
To add my logo, I drag it directly in from my Finder window (Explorer on Windows). I resize using the handles but you can choose Edit – Transform – Free Transform for more options.
I add another rectangle to emphasis a word that is about to go in there. Using the Text Tool from the Tool Bar, I write the word “UNLEASH!” inside the rectangle. You can move/change text just as you can with images by using the Character Panel or Edit – Transform – Free Transform.
I add another image for the centre of my Roller Banner, but the woman in it isn’t sitting on the right side for my design, to change it go to Edit – Transform – Flip Horizontal/Vertical.
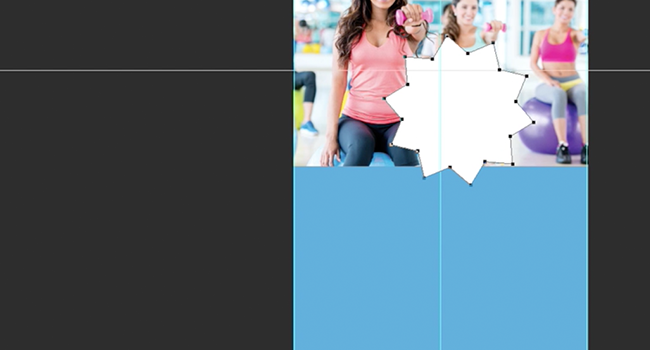
I then add a star by using the Shapes Tool again but I use the Polygon option, with this tool you can choose how many sides to a polygon you want, the depth of the sides etc. For example if I wanted to make a equilateral triangle, I’d chose 3 sides and turn off the star option.
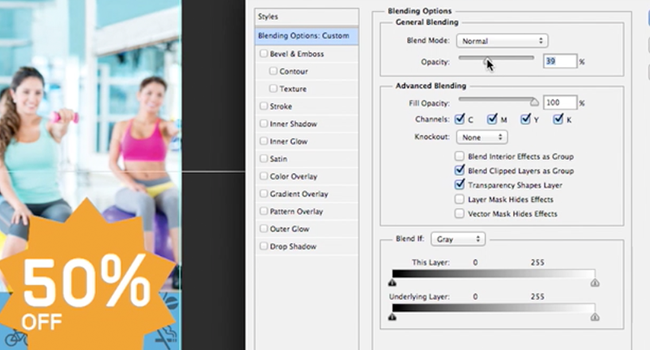
I change the colour of my objects using the Blending Options window found when you right click a layer, for me this is the quickest option to change colours, but you can also use it to add shadow, gradients and a whole over host of things. I strongly recommend trying it out.
After all of my writing is completed, I wanted to add some depth to the solid colour at the bottom. I added icons for fitness, repeating them in a pattern by using the Duplicate tool found when you right click on a layer. I then use Blending Options to reduce the opacity so it doesn’t bleed into the text, and move it behind the text, image and star layer.
When your happy with your design, remember to delete the template layer!
To get ready to send it to print, save it as a PDF using the options in the Save As menu, then follow the instructions on the Solopress website.
A ‘voila! A quick and easy Roller Banner for your business!
If you have any comments or questions regarding designing a roller banner, please use the comments section below and we’ll do our very best to answer your queries.
For more expert video guides to professional creative and design applications, visit the Solopress YouTube channel or stay tuned to the Solopress Blog.
Thanks for watching our video tutorial.




Brilliant Tutorial and great help in making sure people provided artwork ready files first time, eliminating the back and forth processes that we all hate.
Comments are closed.